Fall was another amazing art school adventure with four more second year studio courses under my belt! This was my third Fall semester. Once again I am taking the winter semester off to travel, do some independent art work and ... recuperate. I've mentioned before that when I started this adventure, I wasn't thinking about art school being a physical challenge, but it is certainly that with everything from carting rocks up stairs, struggling with getting canvas stretched on 4X4 sheets of plywood into the shower, dyeing cloth and silk screening for 14 hours at a time (think an incredibly intense old-school laundry day for comparison) etc. etc. - in the end, I ended up with a pinched nerve that caused me to have to scale back for the last month of classes, although I managed to complete all the assignments. This will be the last time I try to take four studio classes at once.
The other thing I have come to more fully understand is that the BFA emphasis at ACAD is contemporary practice. This seems to mean that in the crafts area (e.g. fibre, ceramics) there is an emphasis on concepts as well as technique - which is my comfort level. However, in painting and drawing (three of my courses last fall), the emphasis is heavily on concept and there is very little emphasis on teaching technique and the definition of these areas is very broad. You could probably get away without picking up any of the tools that lay people associate with drawing and painting. I have actually been advised to check out guilds, extension classes and U-tube in order to learn traditional painting and drawing techniques. I did learn some techniques from listening to critiques and seeing other students' work, especially in one of the classes, but I do think there has been an overcorrection with some of the basics being eliminated. I do understand some of the rationale behind this approach but it feels like there is a lot of emphasis on what you may want to express and all the possible ways to do it, but little emphasis on how to do any of them with skill.
I plan to give it one more try with a painting class next Fall, but I am leaning more in the direction of a Fibre major just because of this emphasis. I am also boggled by the titles of the classes - the three painting and drawing classes overlapped a lot and entitling them drawing or painting seems arbitrary and irrelevant given the content. However, each of the instructors handled the classes in very different ways, and because of this, they were very different and valuable experiences. This is probably all sounding a little more negative than I intend - I still really enjoyed the semester and would not want to discourage any one from pursuing this approach. I think I am just sorting through priorities and trying to find the best way forward - all good challenges to have.
Friday, 26 February 2016

Thursday, 25 February 2016
Felt Sculpture: Combining Needle and Wet Felting


Gently add warm soapy water to the areas that you want to wet felt and carefully work the area with your fingers, guiding the fibres to do what you want. Use disposable vinyl gloves or a fine mesh to avoid moving the fibres too much.
The benefits are that you end up with a smoother surface, you can securely attach wet felted pieces as in the fairy wings below, and clothing feels much more durable without endless needling. If you are careful, you can also wet felt the whole piece to refine the shape of the body.


Friday, 19 February 2016
2 Dimensional Felt Pictures: experimenting with colour
 My studio is a little overrun with beautifully coloured wool and luscious fibres. On a related, curious note, one of the steps to create the smooth, wet/needle felted creatures I've been making is to "shave" them - the resultant brightly coloured nubbles and fluff were just too beautiful to throw away. All of this stuff has inspired me to get back to experimenting with colour and texture - florals are a great option for doing just that.


 I also have a stash of prefelt that looks quite "quiltish." After flying over farmland and prairie many times, I tend to associate patchwork quilts with planted fields. I've been on a bit of a raven kick for a while so decided to include them taking a bird's eye view.

After working on these fairly detailed pieces, it was a nice change to create a dominant, plain blended background, experimenting with feathering wool tops and white silk hanky fibres to create a sunrise. Driving around my rural area the other day, I was struck by the number of birds that are hardy enough to overwinter and greet our cold, late, northern sun rise.
 But no matter what I do, I always seem to come back to mountain landscapes.
A hanging epiphany!
These pieces are all fairly small (80 to 160 square inches). I decided to keep them as simple wall hangings. After years of experimenting with different hanging methods, I've come up with what I think is an elegantly simple approach. Earth magnets are concealed on the back within small cloth pouches. These suspend the pieces nicely on gridwall display structures and can be easily used on home walls - just hammer nails into the wall - leaving the nails (or screws) protruding from the wall causes the piece to look like it is floating off the wall.

Saturday, 19 September 2015
Mixed Media Felt Painting
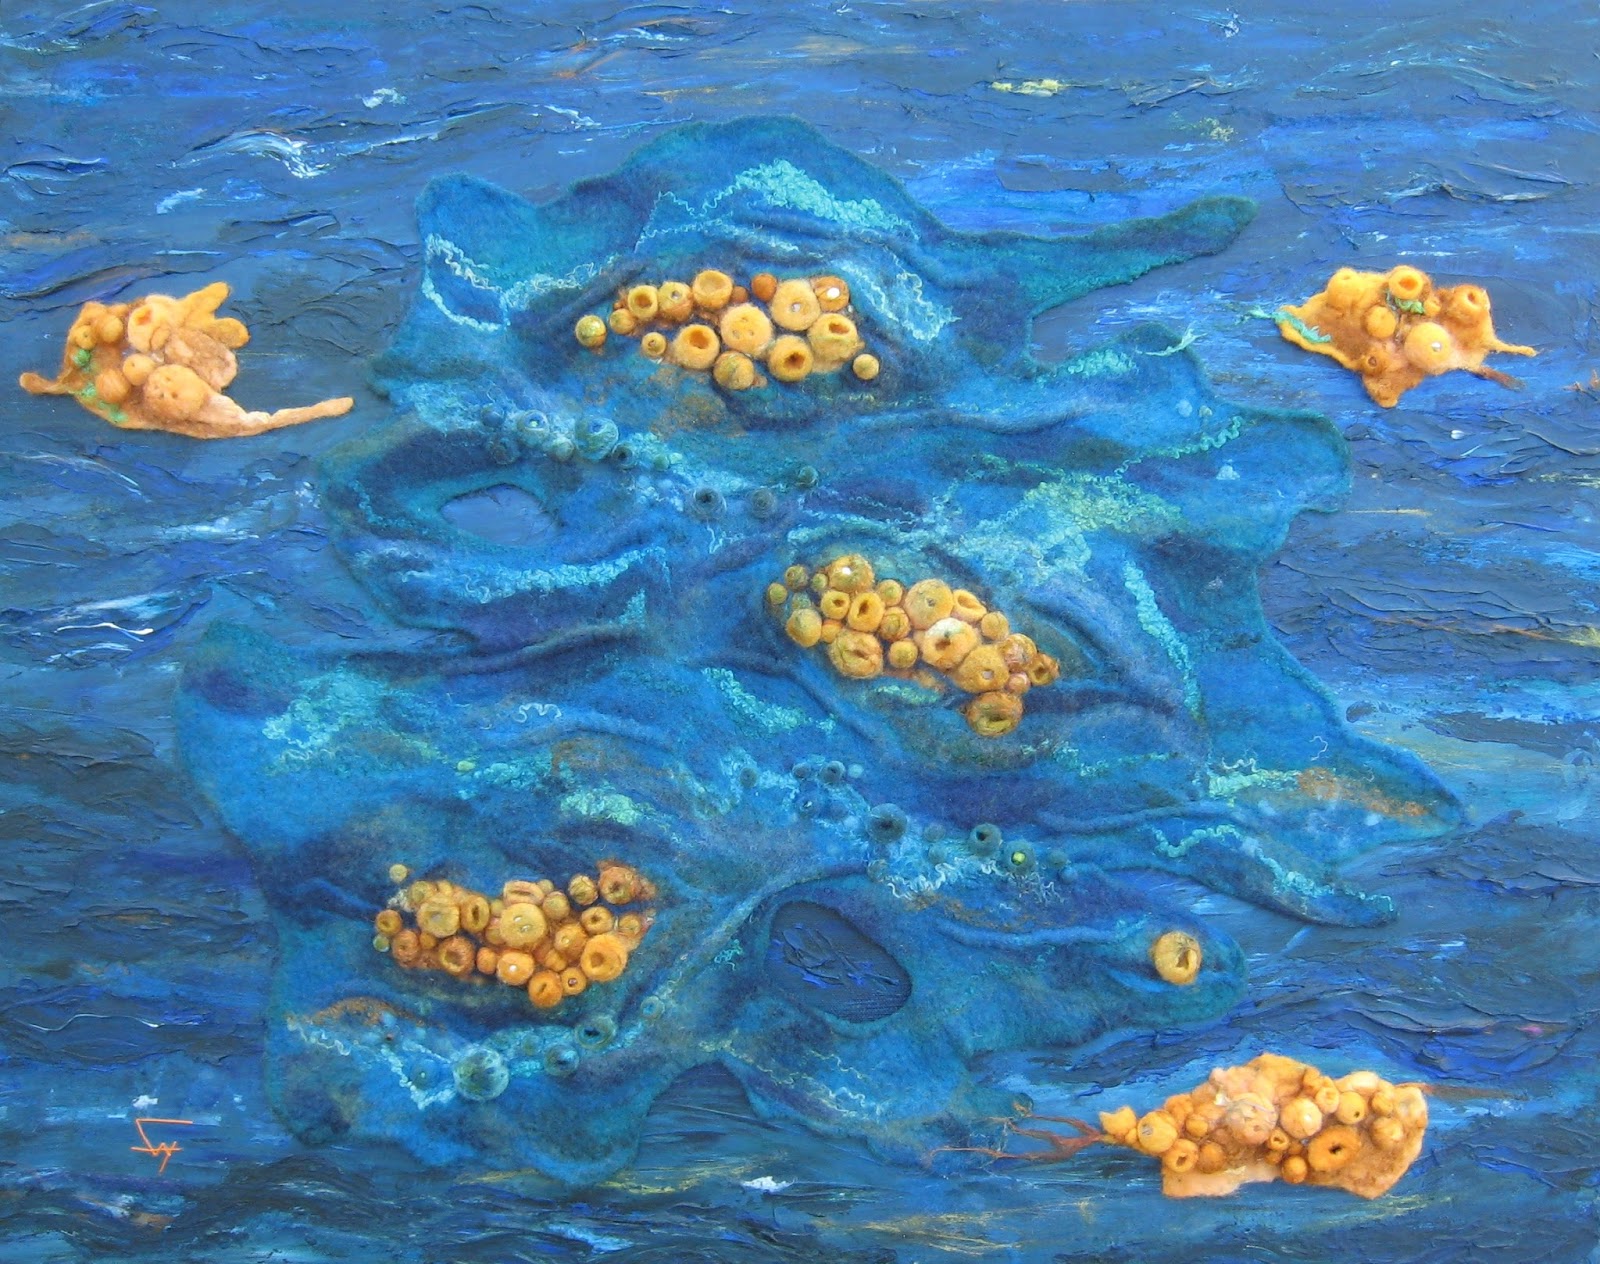 |
| Water and Pebbles 30"'X24" |
More experimenting with incorporating felt into a mixed media piece (felt, acrylic paint, silk, bamboo tops, beads)! In this piece I attempted to felt as if painting and paint as if felting. I started with prefelting the felt water piece and sand coloured pebbles. After stitching and needle felting the pieces together, they were further felted.
The background paint incorporates fibre and was painted to blend with the felt work to form a unified piece.
Thursday, 30 July 2015
More Needle-Felt Trolls
 Two more new trolls will be moving to the The Creeky Door, a great little store in Bragg Creek. These little guys are a little over a foot tall and are made by needle felting over a wire armature.
Cyrano is a romantic at heart and believes that everyone can find
love with a little help.
I may cut a dashing figure now, but it took me years to overcome my trollish ways. I want to help others learn from my experiences and plan to launch a dating advice blog called 'Trolling for Trysts'.

Magnus hails from Troll Falls
Don't get me wrong, I enjoy hikers (especially after dark), but I worry about the consequences of an unpleasant troll-human interaction. People seem very aware of the importance of protecting wild-life, but we trolls seem to have fallen between the cracks.
Saturday, 25 July 2015
Felted Shoulder Fairies

Introducing those pesky little shoulder fairies!
These little temptresses are made with a combination of needle felting and wet felting - a hybrid of my armature needle-felt creatures and some techniques from an Andrea Graham workshop.
Truth be told, the inspiration came from some dear friends who continued to whisper temptations in my ear about buying two dresses for an upcoming wedding - just in case you know!
Tuesday, 7 July 2015
Quirky felted sea life

Andrea has developed some different and valuable techniques that combine needle and wet felting. While I have been experimenting with this idea before, her workshop really helped me take a quantum leap.
My previous experimentation with silk lap on felt got me thinking about making a fish with iridescent scales so when I went to the workshop and saw Andrea's whimsical little pods, quirky fish immediately came to mind and voila: the parrot fish and flying fish in the background. I am hooked and went on to make the bubble fish in the foreground and am working on a sea horse - apparently there is a ocean of creatures to explore. Interestingly, the silk lap did not give me the same scaley look on the bodies, presumably because there is not much shrinkage with this method - still attractive though.
Subscribe to:
Posts (Atom)